|
AVAILABILITY
|
The MANAGE COUNSELORS panel is accessible through the settings page to assist organizations with managing multiple college counselor accounts. After clicking MANAGE, there are four key functions available:
1. Add new counselors to your organization with the ADD COUNSELOR button.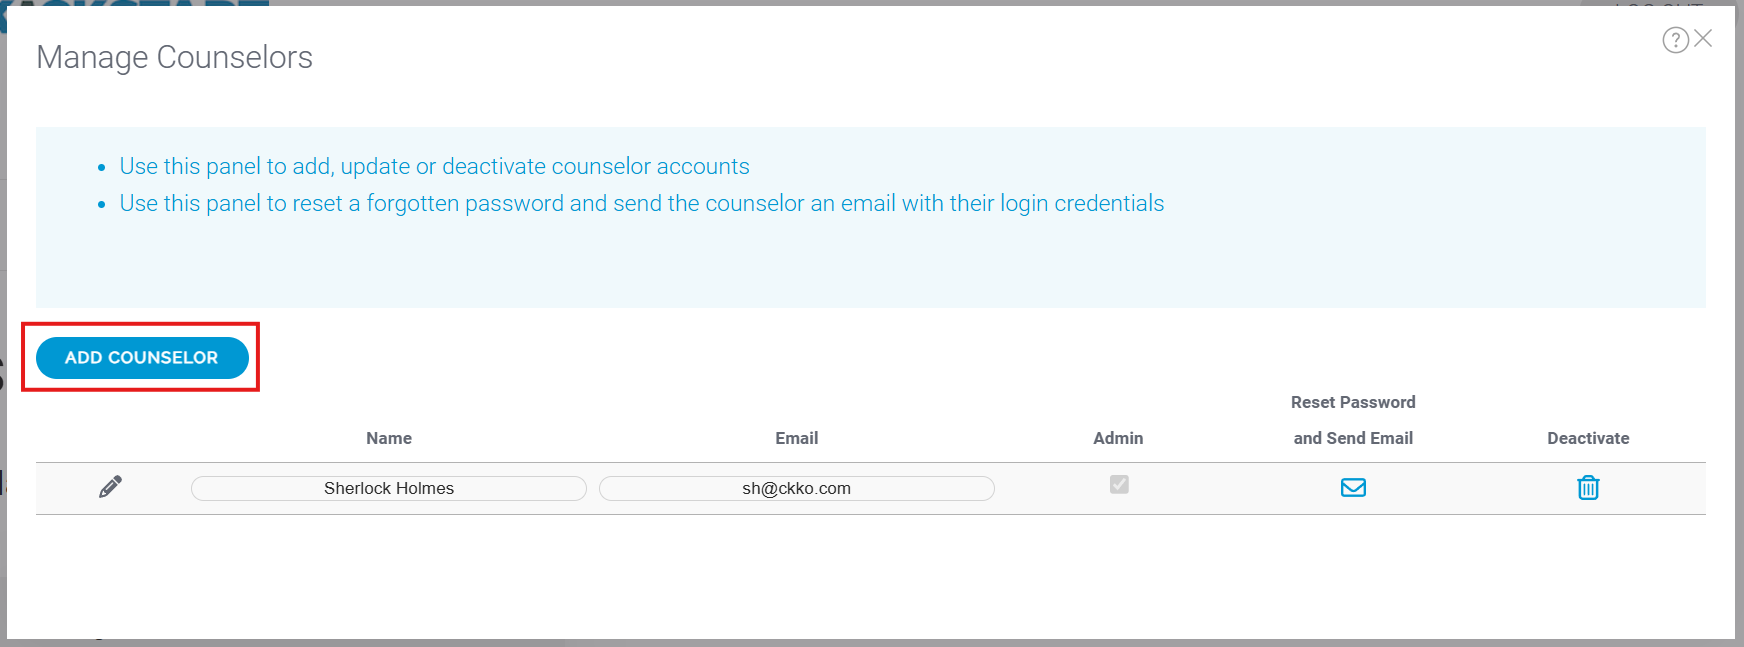
After clicking ADD COUNSELOR, enter the person's Name and Email, and determine whether they need Admin permissions. Use the green check to save or the red x to cancel.
The “Admin” checkbox allows selected counselors to access the ADMIN menu to configure settings and local context, and to create reports and visualizations. The “Reset Password and Send Email” and the “Deactivate” icon buttons are inactive when the new counselor information is being entered.
When you're ready to notify the new counselor, make sure to click the icon under “Reset Password and Send Email” to send them their initial login information! This information is not automatically sent.
2. Remove counselors from your organization using the DEACTIVATE button.
Deactivation cannot be undone; a confirmation window will pop up. Please note that there must be at least one active counselor designated as an ADMIN in your organization. Additionally, counselors with active students cannot be deactivated; you must first reassign these students to another counselor.
3. Modify an existing counselor's name, email, and/or admin status with the EDIT button
Click the edit button designated by the pencil icon, make your changes, and then click the green check to confirm or the red x to cancel.
4. The RESET PASSWORD AND SEND EMAIL button will send the selected counselor a welcome email that contains their login credentials.
A confirmation window will pop up. For newly added counselors, you must click this to provide their initial login information. For existing users, this action will also reset their passwords.